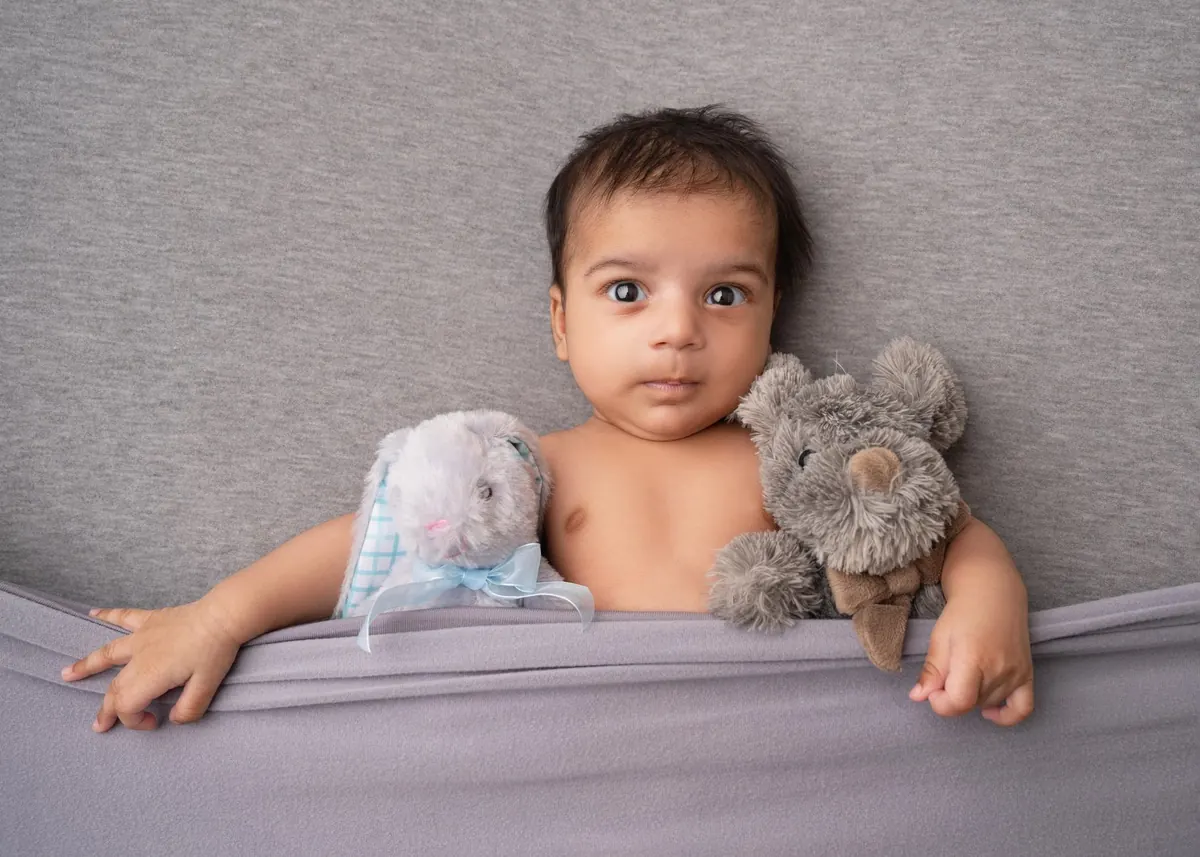
The first year is a blur of small changes. One week your baby is a sleepy bundle who fits in the crook of your arm; the next, they are lunging for the dog’s tail. Monthly photos catch those changes before they blur together. You do not need a studio, themed backdrops, or a closet full of props. You need one consistent spot, a few simple markers of growth, and five minutes on a day when everyone is reasonably happy.
The twelve ideas below are meant to be repeated, not reinvented. Pick the ones that fit your family, keep the camera at roughly the same height, and let ordinary moments do the work.
Before You Start: Three Rules That Keep It Easy
- Same spot, same light. Choose a corner with indirect window light. Avoid direct sun, which makes babies squint and creates harsh shadows. If you can, take the photo at the same time of day each month.
- One anchor object. A plain blanket, a small armchair, or a large stuffed animal works well. The object stays the same while your baby grows, so the change is obvious at a glance.
- Keep it short. Five to ten minutes is plenty. If your baby cries, stop. A tearful photo is still part of the story, and forcing a smile never looks like a smile.
Months 1–3: Tiny Details and Big Contrast
Month 1: The Same Blanket, Same Angle
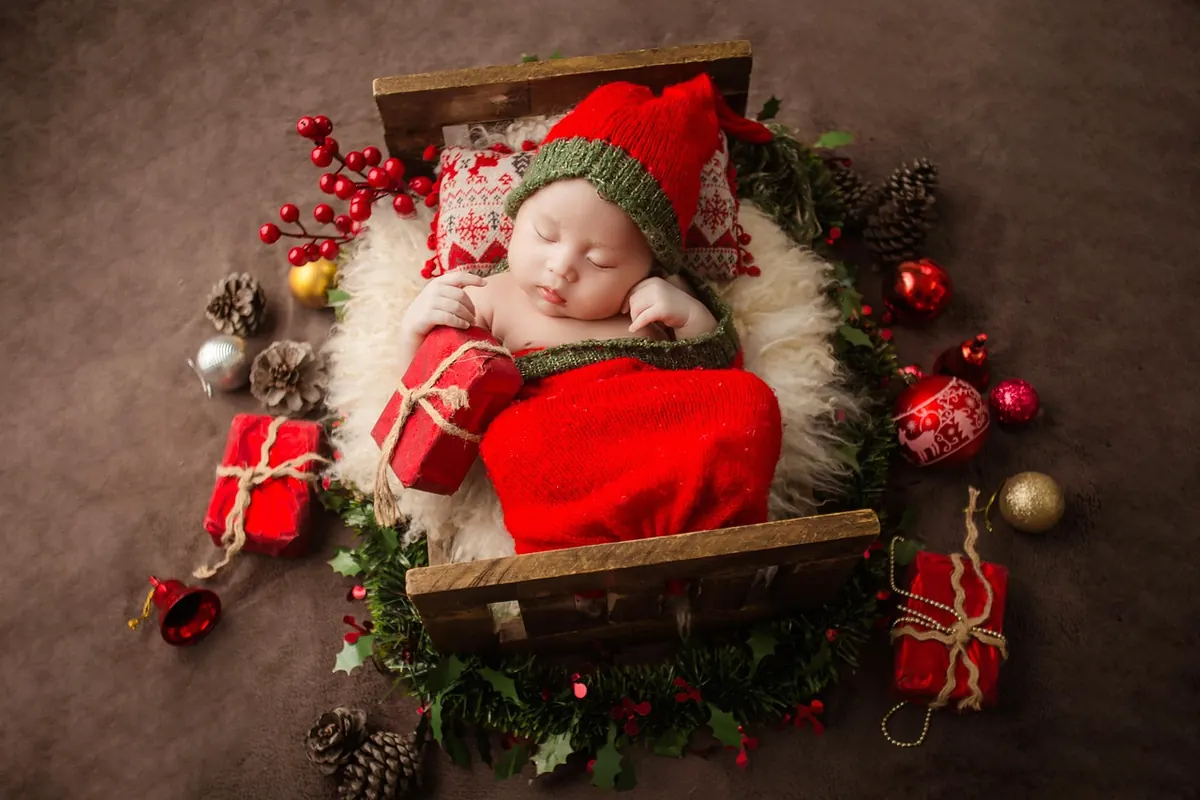
Place your baby on their back on a plain blanket on the floor or a firm bed. Shoot from directly above. Include a small card with “1 month” or a wooden block. Take one wide shot and one close-up of their hands. The point is the shape of your baby against the blanket.
Month 2: Hands and Feet
Babies discover their hands around this age. Lay your baby on their back and wait for them to bring their fists together. Photograph their feet next to your hand or a favourite small toy. Use the same blanket and the same overhead angle.
Month 3: Tummy Time with a Mirror
Put your baby on their tummy on the blanket. Prop a safe mirror or a board book in front of them. Shoot from a low angle to show head lift and neck strength. Stay within arm’s reach the whole time, and never leave a baby alone on a bed or sofa.
Months 4–6: Reaching, Rolling, and Sitting
Month 4: The Reach
Your baby is starting to grab. Sit them supported in a soft chair or on your lap. Hold a light toy just to the side and wait for the reach. Capture the arm extension, not just the smile. Same blanket, same light.
Month 5: The Assisted Sit
Sit behind your baby and support their hips. Take the photo from the side or front. This shows posture and balance. Use the anchor toy again, and keep your hands just out of frame if you can. If your baby topples, that is fine — take the photo anyway.
Month 6: The Half-Birthday Chair
Use a small armchair, a sturdy laundry basket lined with a blanket, or a floor cushion. Place it in the same spot each month from now on. Add a simple sign that says “6 months.” The chair becomes the growth marker, and your baby’s changing size fills it differently every time.
Months 7–9: Sitting Up and Showing Personality
Month 7: Sitting Solo with a Favourite Toy
Let your baby sit alone on the blanket or in the chair. Hand them one toy they love. Shoot from slightly above, and include the toy in the frame. This month is about independence, so a serious, focused face works better than a forced grin.
Month 8: The Clap, Wave, or Point
Capture an action instead of a pose. Take several photos while your baby claps, waves, or points at something. Shoot at eye level. A wooden spoon, a board book, or a soft ball can give their hands something to do.
Month 9: The Box or Basket
A low, sturdy box or laundry basket can hold a sitting baby. Put it on the floor, line it with the same blanket, and photograph from the front. Your baby will look bigger than the container that once seemed huge. Keep a hand near the basket at all times.
Months 10–12: Standing, Moving, and Celebrating
Month 10: Pull to Stand
Use a sturdy sofa or low table. Place a favourite toy on the seat and step back. Photograph your baby pulling up. Stay close, because this is the age of sudden wobbles. The same blanket can stay on the floor behind them.
Month 11: The First Steps Attempt
If your baby is cruising or taking steps, clear a safe path. Shoot from a low angle. Hold your hands out for support, or let them push a sturdy box. Blurry photos are fine here. Motion is the story.
Month 12: The Birthday Month Portrait
Return to the very first blanket and the very first angle. Take one photo on their back, from above, just like month one. Then take one sitting with the anchor toy. Add a simple wooden “1” or a paper sign. The side-by-side comparison is the payoff for all twelve months.
Props, Light, and Safety
- Choose safe props: no small parts, loose ribbons, heavy objects, or anything that could cover your baby’s face. Never leave your baby alone with props.
- Use natural light when you can. Turn off overhead lights, open the curtains, and move closer to a window if the room feels dark.
- Keep backgrounds simple. A plain wall, a made bed, or a clean rug keeps attention on your baby instead of the laundry pile.
- Store the blanket and anchor toy together in a bag or drawer. When photo day arrives, you can grab everything in ten seconds.
Keep Going, Even When It’s Messy
Some months you will forget. Some months your baby will be teething, sick, or covered in purée. Take the photo anyway. An imperfect photo on the fourteenth is better than a perfect photo you never take. If you miss a month, take two the next month and label them honestly.
Set a reminder on your phone for the same day each month. When the year is done, print twelve favourites and put them in a small album. That album will show what no single photo can: the steady, astonishing work of a first year.
Photo: jagdeep rajput / Pexels