Somewhere on your phone there is a photo of your toddler with yogurt on their chin and one eye half-closed, caught mid-laugh, slightly out of focus but so completely them that you would not trade it for anything. There are probably forty-seven blurry versions of the same moment right next to it. That ratio is normal. Toddlers move like they are being paid by the second, and the camera you have in your pocket is more capable than you think.
You do not need a bigger camera. You need better light, a lower angle, and a little patience about when you press the button. Here is how to get the shot without turning your living room into a studio.
Find the Light Before You Find the Camera
Light matters more than any setting on your phone. Before you take a single picture, look around for the brightest soft light in the room, which is almost always a window.
Put your toddler so the window is to their side or slightly behind them, then step between them and the window and shoot back toward it. That direction gives you soft shadows on one side of the face and a bright edge on the other. If the window is behind your child and their face goes dark, either move them or tap on the dark face to brighten the exposure.
Turn off the ceiling light while you are at it. Overhead bulbs cast shadows straight down over the eyes and give skin an orange tint that is hard to fix later. A cloudy afternoon near a window will beat a sunny room with the lights on, every time.
Outside, look for shade. Under a tree, beside a building, on the shadowed side of a playground — open shade is flattering and, crucially, does not make anyone squint. If you are out in the late afternoon, let the sun sit behind your child and shoot toward it for a warm glow, as long as their face is not fully in shadow.
Get Low, Get Close, and Stop Framing the Whole Body
The single biggest improvement most parents can make is to kneel. Photos taken from adult standing height make a toddler look small and far away, with a lot of floor. Drop to their eye level, or lower, and the photo suddenly feels like a portrait instead of a record of the top of a head.
Then fill the frame. Get as close as your phone will focus — usually about a foot or so — and let the top of the head or one foot fall outside the picture. Close scraps of a face are more interesting than a perfectly framed full body shot from across the room.
One technical note: avoid zooming. Digital zoom crops and softens the image, and indoors that shows up fast. If you want to be closer, walk closer. If your phone has a second lens with a longer reach, that one stays sharp, but the standard lens in good light is the safest choice.
Sharper Photos of a Moving Target
Blur is the enemy here, and it comes from three places: a dirty lens, slow focus, and camera shake. All three are fixable.
Wipe the lens first
Phone cameras live in pockets and on kitchen counters, and a thin film of grease turns a good photo into a soft, glowing mess. This one step fixes more bad photos than any editing app. Tuck a microfiber cloth somewhere useful or use the inside of your shirt if you must.
Lock focus on the face
Tap on your toddler's face so the camera focuses there. On most phones you can press and hold on that spot to lock focus and exposure, which stops the camera from hunting and refocusing on the background every time your child lunges sideways. Aim for the eye closest to you.
Use burst mode when they are on the move
When your toddler is running, jumping, or spinning in circles, hold the shutter button down instead of tapping it. Your phone will take a rapid series of shots, and you can pick the sharp one where their eyes are open. Yes, you will delete thirty photos. That is the deal.
Brace yourself
Two hands, elbows tucked in against your ribs, and your feet planted. If you are sitting on the floor, rest your forearms on your knees. A phone held out at arm's length on one hand while you also hold a snack is not going to be steady, and the snack is negotiable.
Time It Right: Shoot the Doing, Not the Posing
"Look at me and smile" produces a grimace roughly 90 percent of the time, and the other 10 percent is a fake smile that does not look like your kid. Stop asking. Instead, name something they care about and shoot the reaction: "Where's the dog?" or "Is that a big truck?" works far better than any instruction.
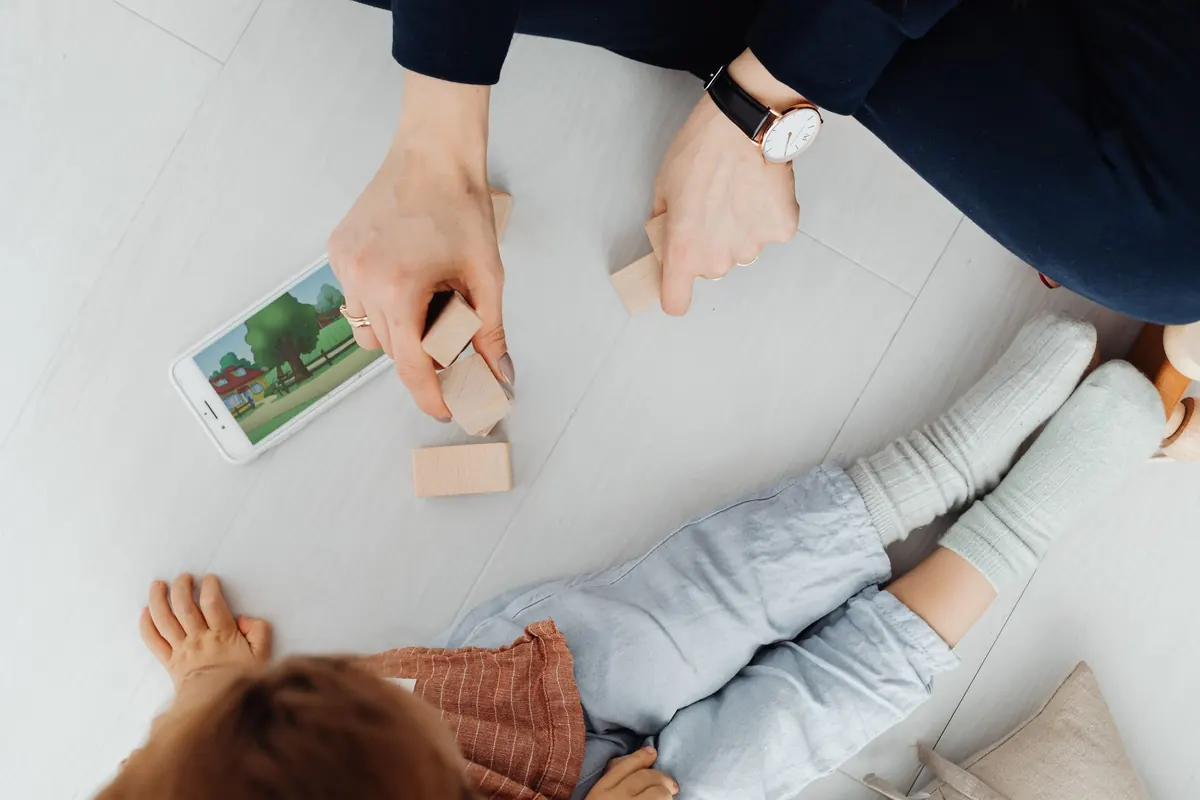
Photograph activities, not portraits. Bath time, snack time, the intense concentration of stacking blocks, the moment they finally get their shoes on by themselves. The mess is part of the story. Ten years from now you will want the yogurt chin more than the matching outfit.
Also, shoot the second after the laugh, not during it. The face relaxes into something warmer, and the mouth is not frozen mid-shout. When you get a good moment, take three or four frames in a row and keep the best one — that is how you end up with a photo where everyone's eyes are open.
A Two-Minute Setup You Only Do Once
Spend a couple of minutes in your camera app now, and you will not have to think about it again.
- Turn the flash off. On-camera flash flattens faces and frightens toddlers. Use a window instead, and if you truly need light indoors, turn on more lamps in the room rather than using the flash.
- Turn on the grid. It puts a light rule-of-thirds guide over the screen, which makes it easy to place your child slightly off-center and leave some empty space in the direction they are looking.
- Skip portrait mode for moving subjects. The blurred background looks lovely on a still subject, but the software often loses track of a wriggling toddler and blurs an ear or a hand.
- Leave HDR on automatic if your phone offers it, and turn off beauty or skin-smoothing filters. You want your child's actual face.
- Take one test shot of the room when you arrive somewhere new, so you can see how the light is behaving before the interesting moment happens.
Small Edits That Fix Most Photos
Most phone gallery apps have a basic editor, and four sliders are usually all you need. Crop first to straighten a tilted frame or remove an empty edge. Raise the brightness a little. Nudge contrast up slightly if the image looks flat. Add a touch of warmth if the photo came out blue-grey. That is it.
Try to resist heavy filters and high saturation. They date quickly, and they tend to make skin look like plastic. If your phone's auto-enhance button produces something subtle, it is fine to use it. If it produces something dramatic, undo it.
Make It a Habit, Not a Project
You do not need a photo session. Aim for one good photo a week, caught during something you already do together — breakfast, the walk to the car, the last ten minutes before bed. Keep the phone in your hand for those few minutes and put it away after. That is roughly fifty photographs a year of your child actually being themselves, which is more than most families manage.
Back them up somewhere that is not just the phone, and once in a while print one. Pictures that live only in a camera roll get buried. A slightly imperfect print on the fridge does not.